-

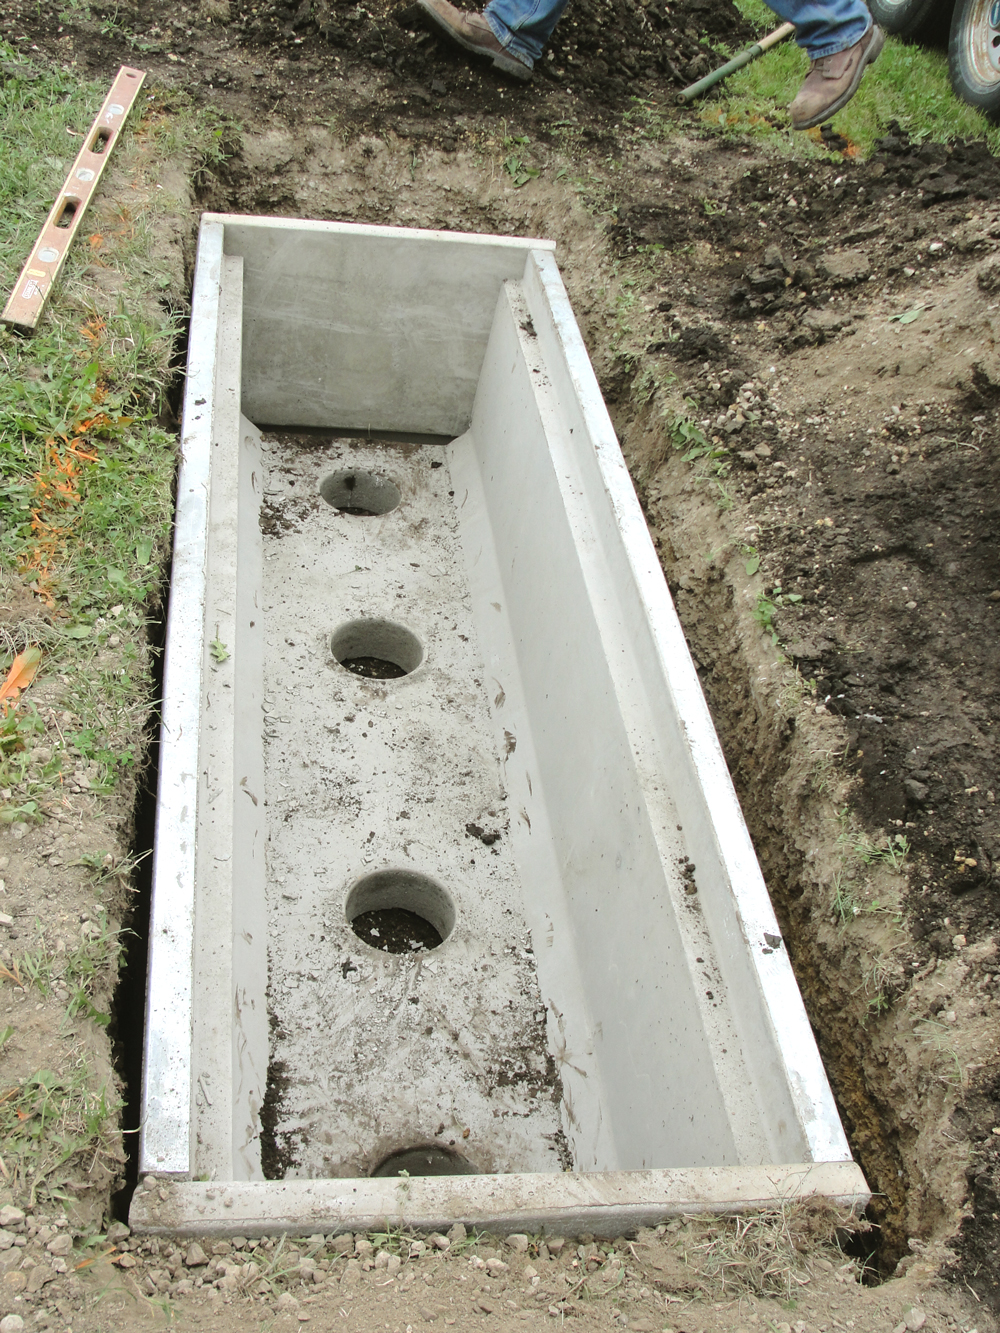
LT Trench Installation -

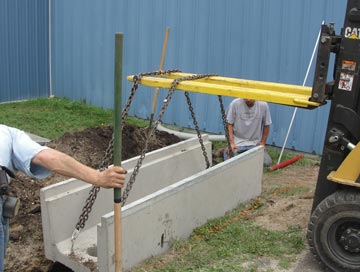
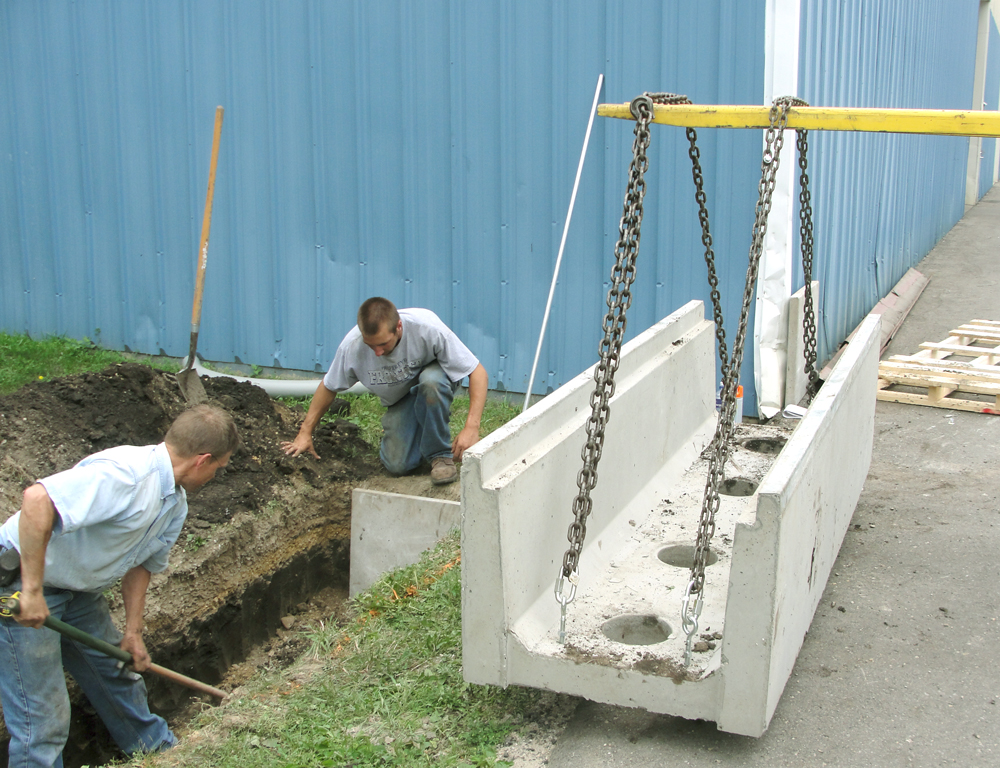
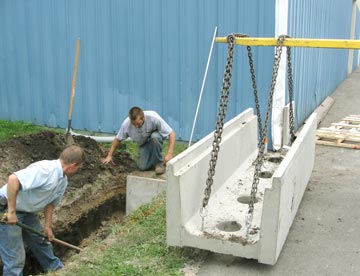
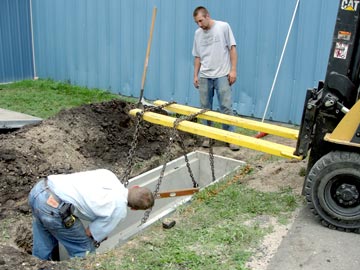
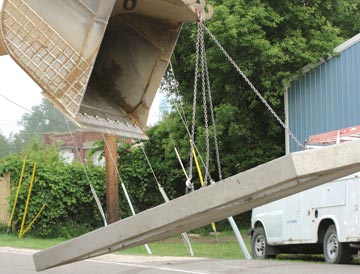
Trench can be maneuvered with a forklift & chain -


Concast can supply chain & swivel hoist rings -

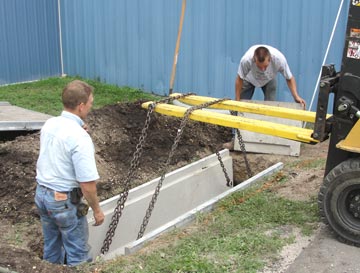
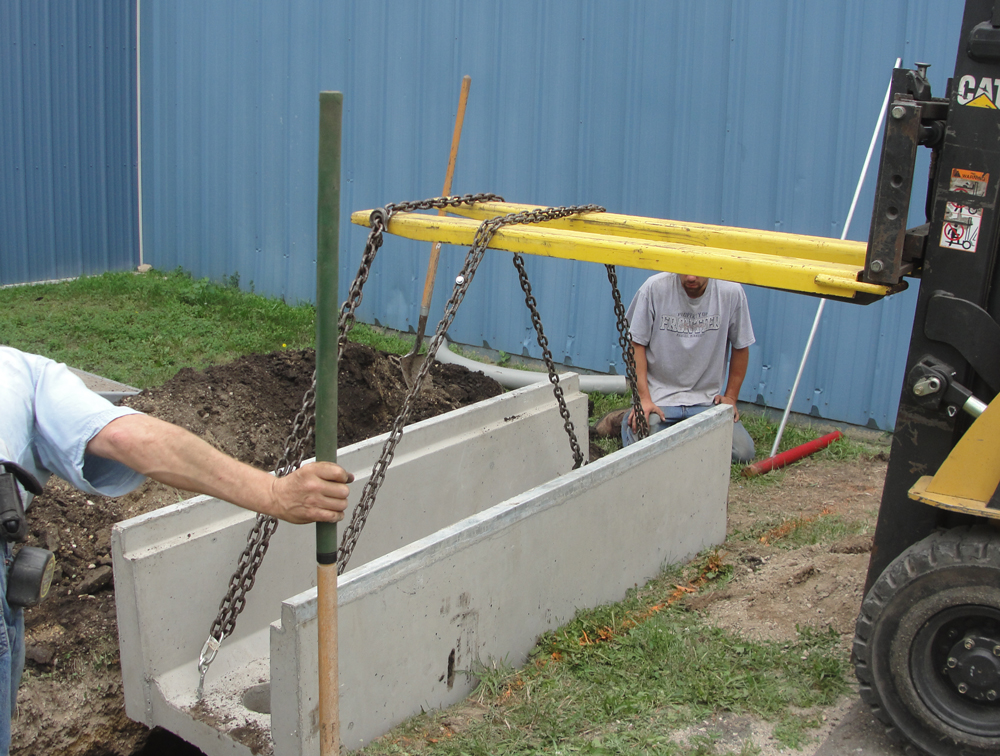
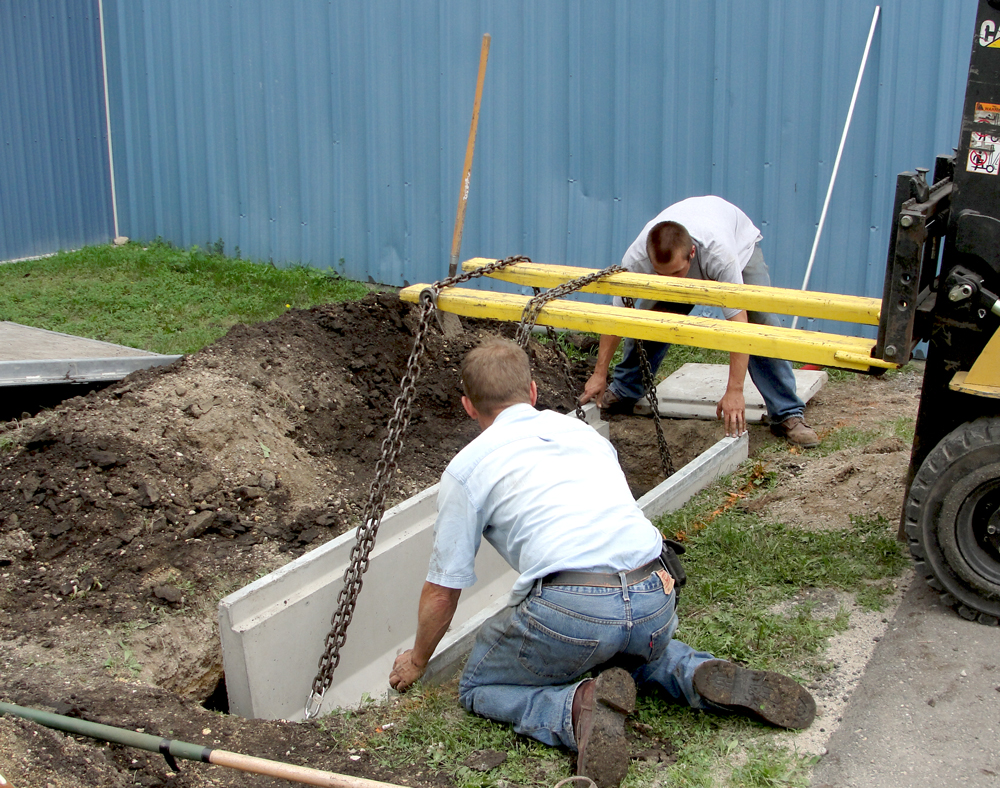
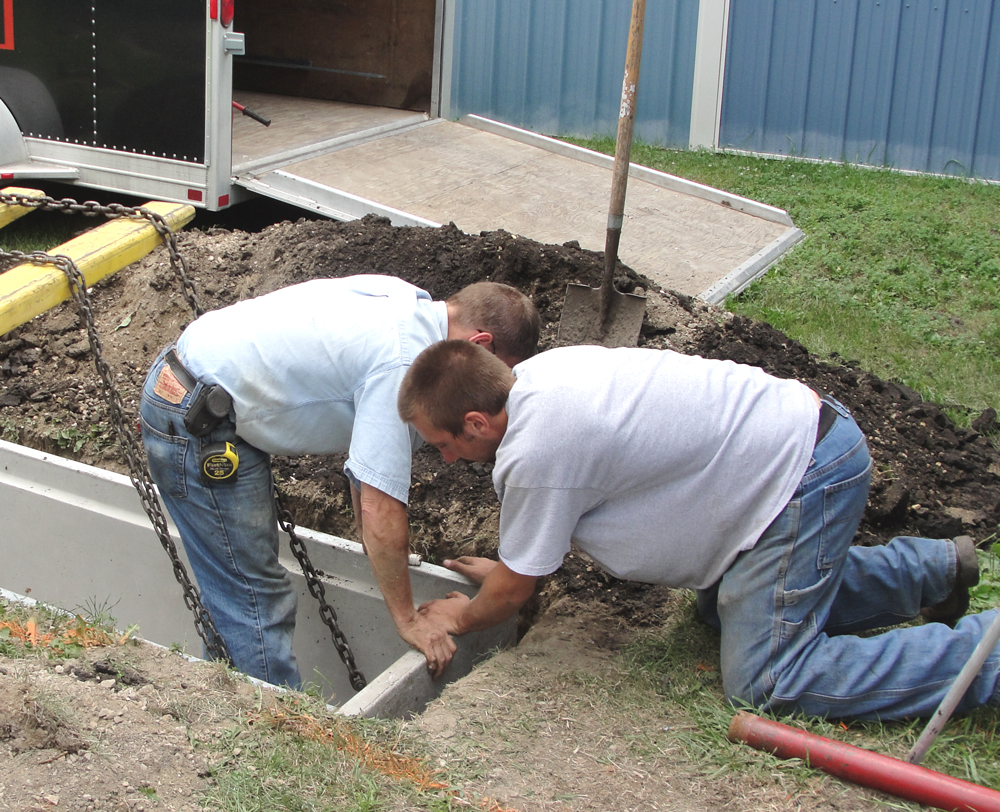
Setting the LT trench in place -


This single section of trench will provide plenty of cable training space below the flat pad & transformer. -


Standard Concast end plates help to seal the system. -

It is important to make sure the trench top surface is level so that the flat pad will be correctly seated. -


Trench Bottom has non-standard round openings -

LT Trench End Plate Installation -


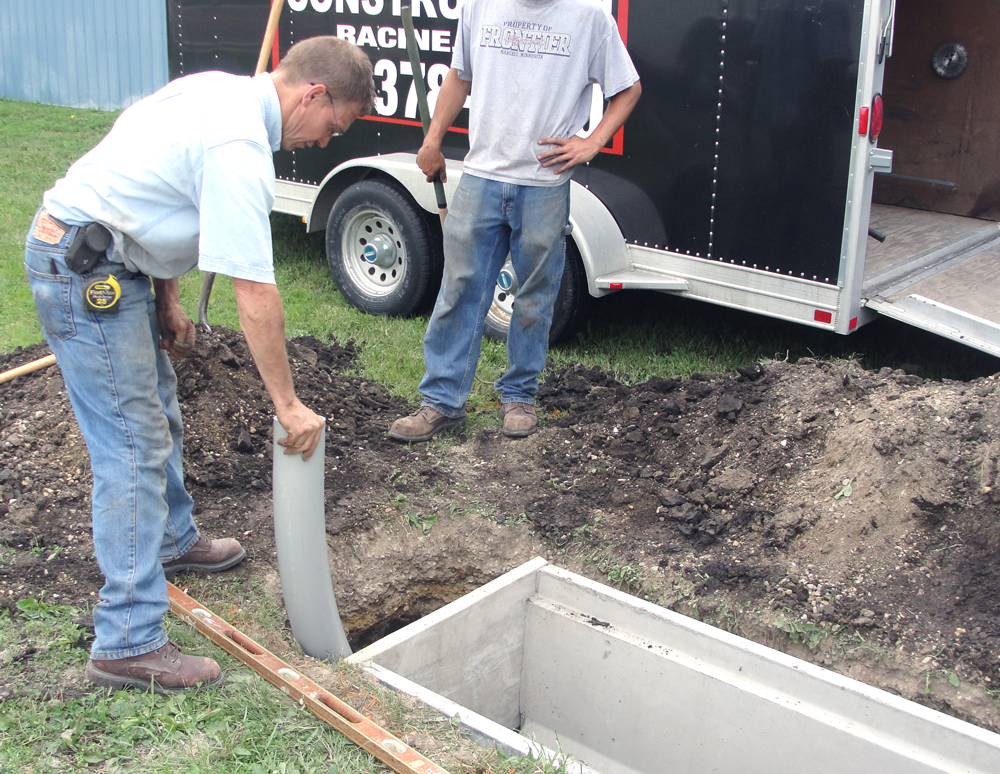
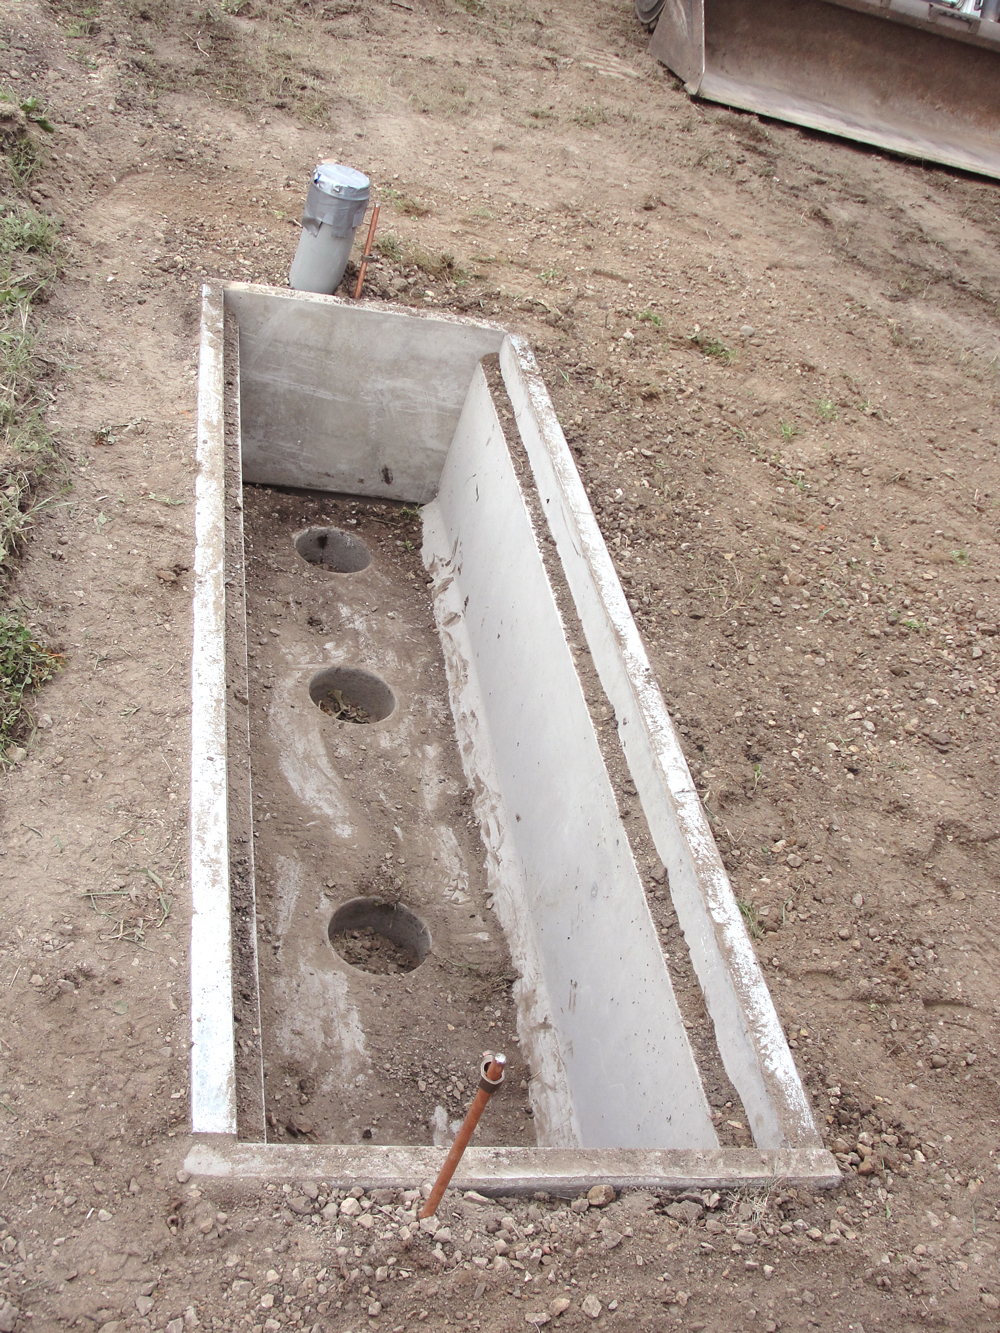
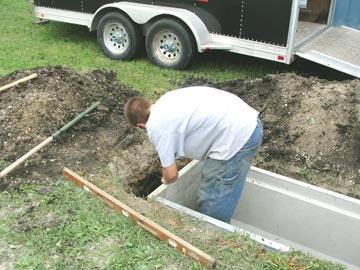
Trench prior to installing the stub. -

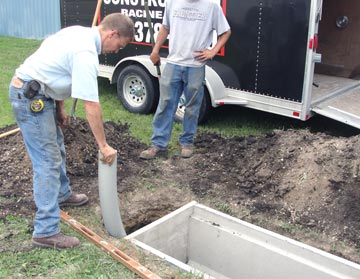
Stub Installation -


First Leg of Installation is Completed -

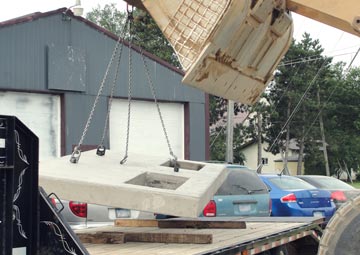
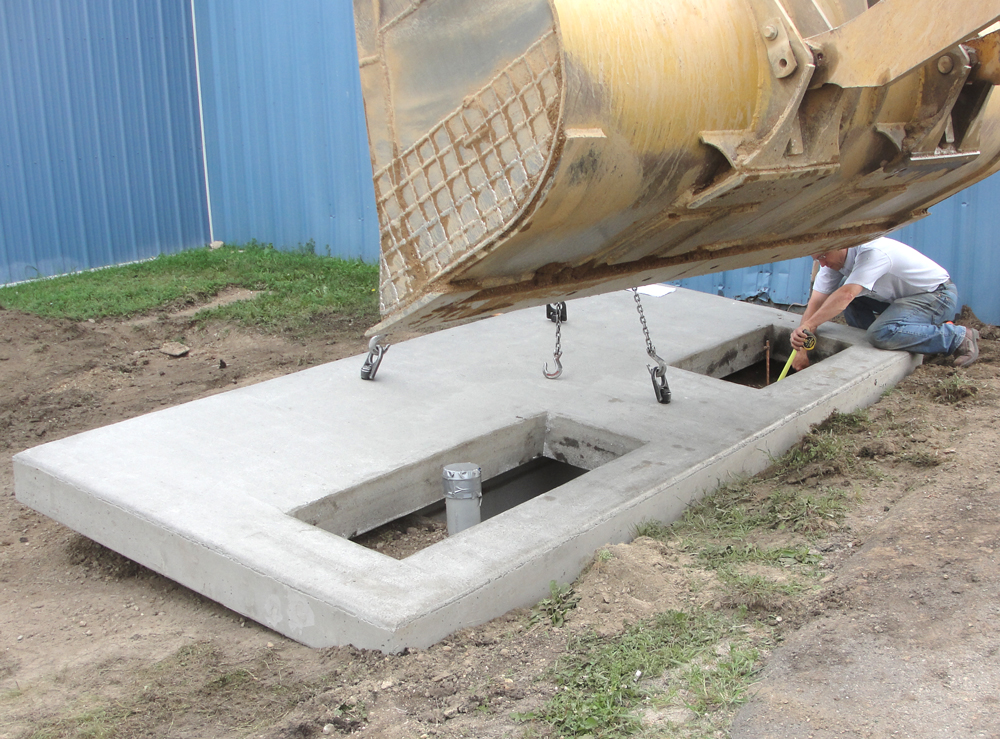
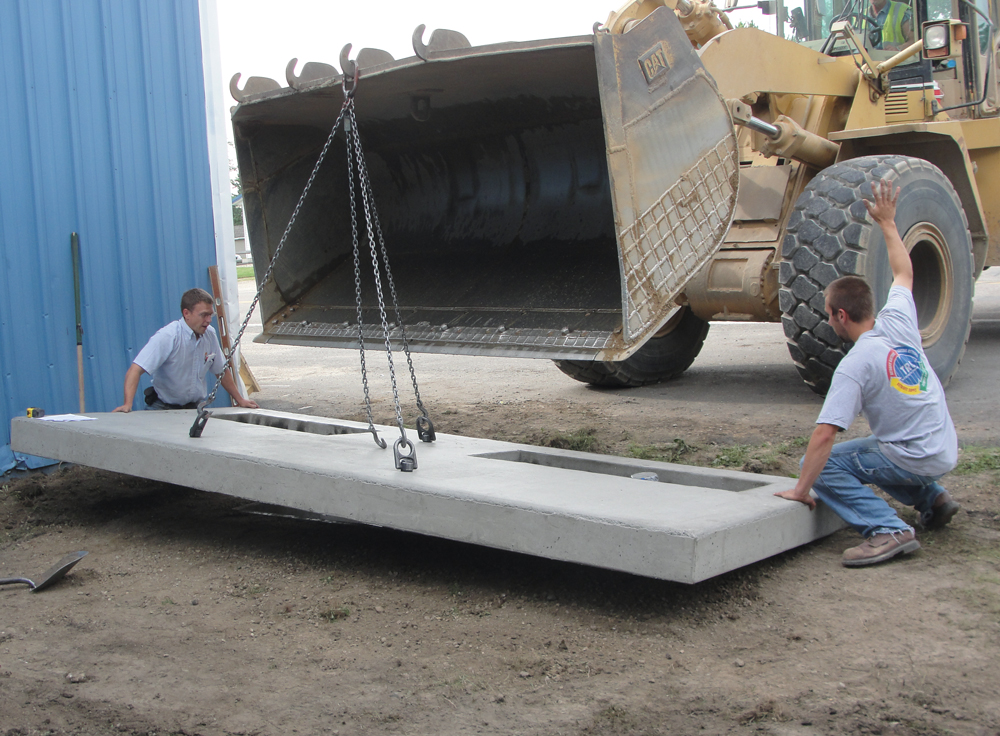
Threaded lifting inserts are cast into most Concast parts, like this modular flat pad. -

Flat pad is being lifted by a standard bucket -

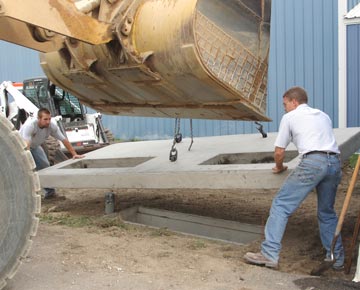
Setting this modular flat pad onto the already installed trench. -


The modular flat pad being set onto the trench. -


Another view of the flat pad being set onto the trench. -


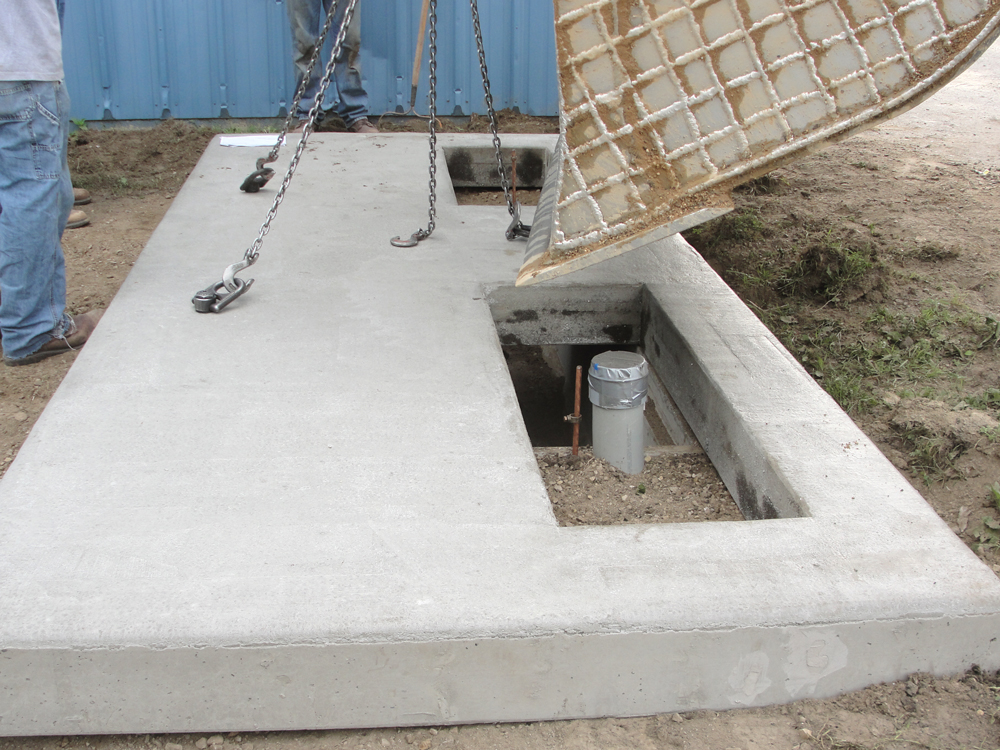
The stub and trench can be seen below the flat pad. -


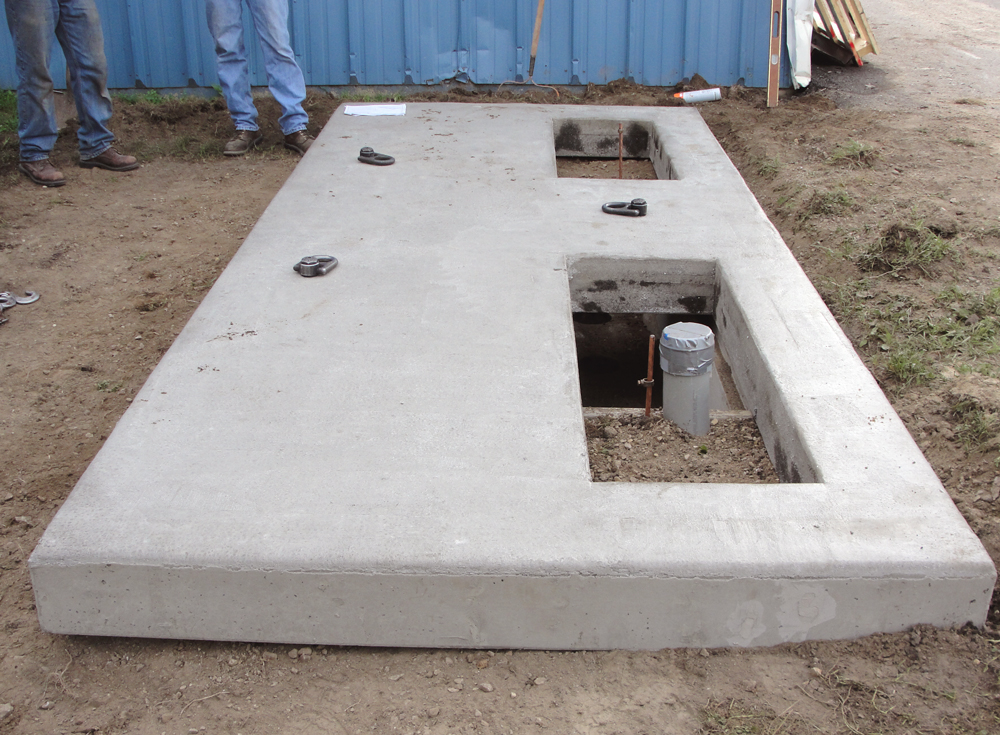
Verifying that the modular flat pad is level. -

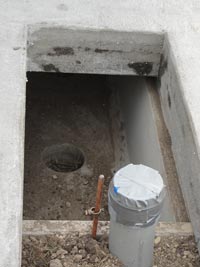
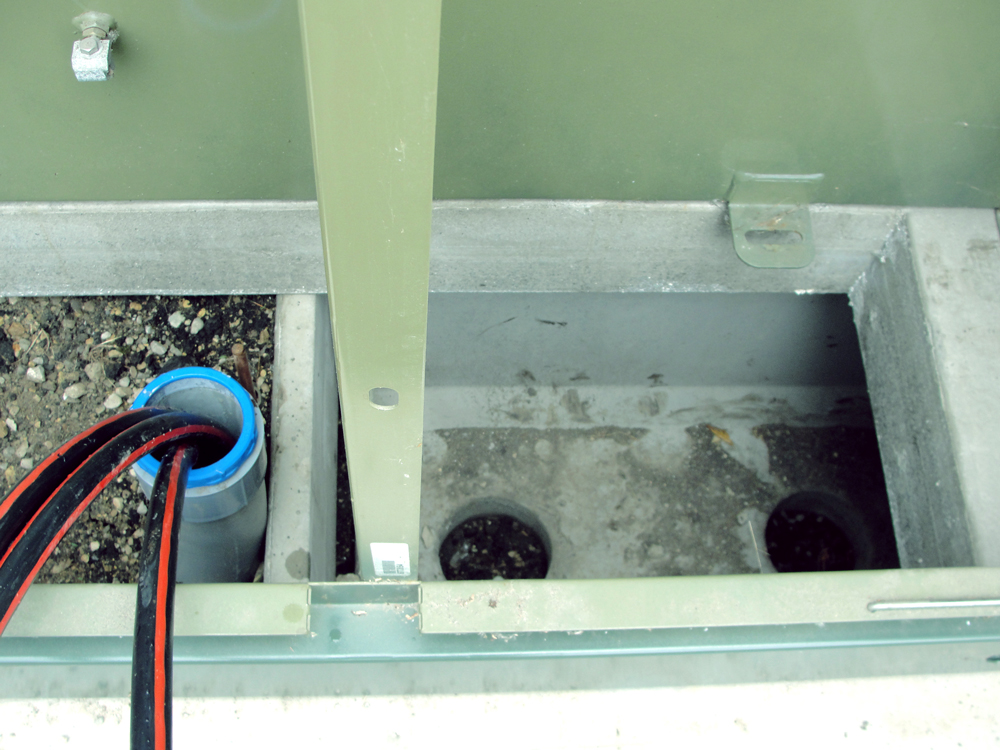
Looking into one of the flat pad openings, and into the trench below it. -


The stub sticks up through the opening in the flat pad. Note the swivel hoist rings that have not been removed yet. -

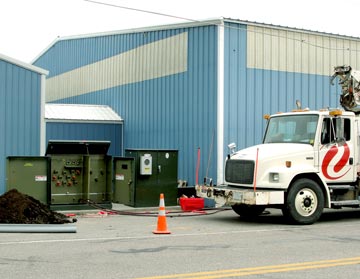
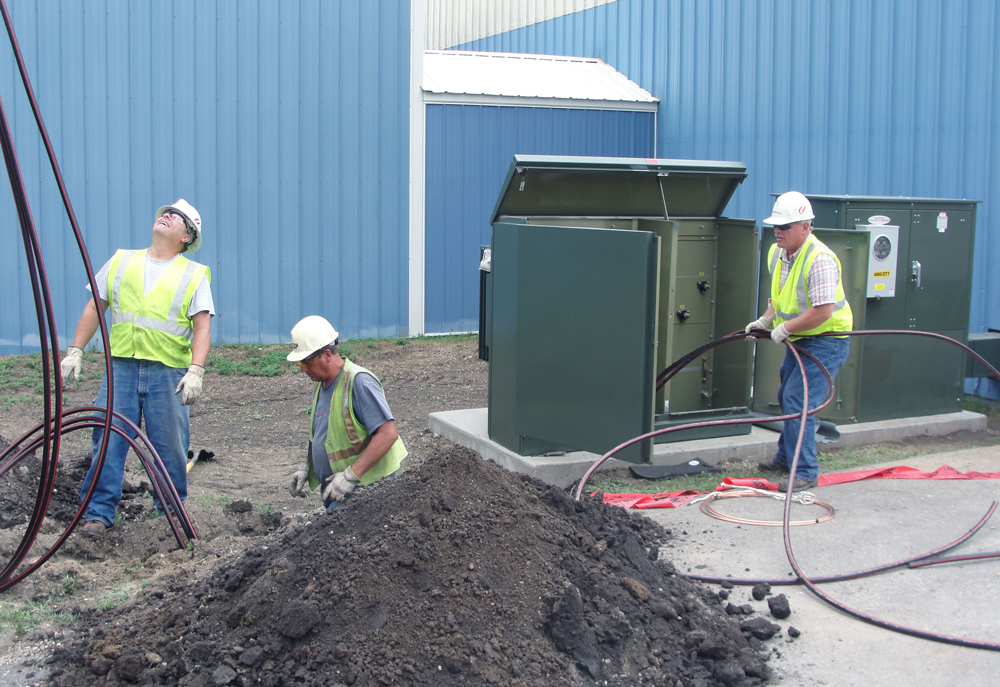
Electrical equipment being installed by Xcel Energy. -

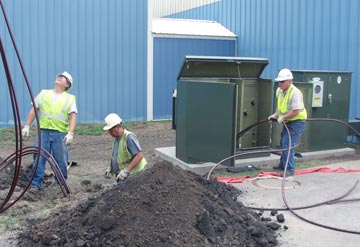
The guys commented on how much easier it is to do their installation with the Concast modular flat pad system vs. a standar installation. -

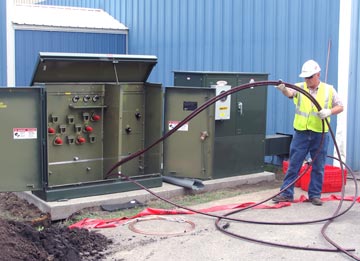
Photo of cabling being routed using the MFPS (Modular Flat Pad System). -


View inside the electrical equipment and MFPS. -

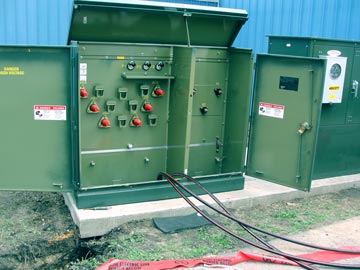
Electrical equipment being installed onto Concast's Modular Flat Pad System.